

There are many ways how to make your basic bow, this is how I do it.
Here are the materials you will need to get started:

Ribbon (I am using a 5/8"width ribbon for this tutorial but you can use any size), string, hot glue gun, hot glue sticks, a lighter, scissors, alligator clips (you can find these metal single prong clips at a beauty supply store) control clips (also at a beauty supply store and usually come in a pack of 6)
1. Cut your ribbon about 12" long or your desired length.
3. You should have 3 creases in your ribbon once you open it up.


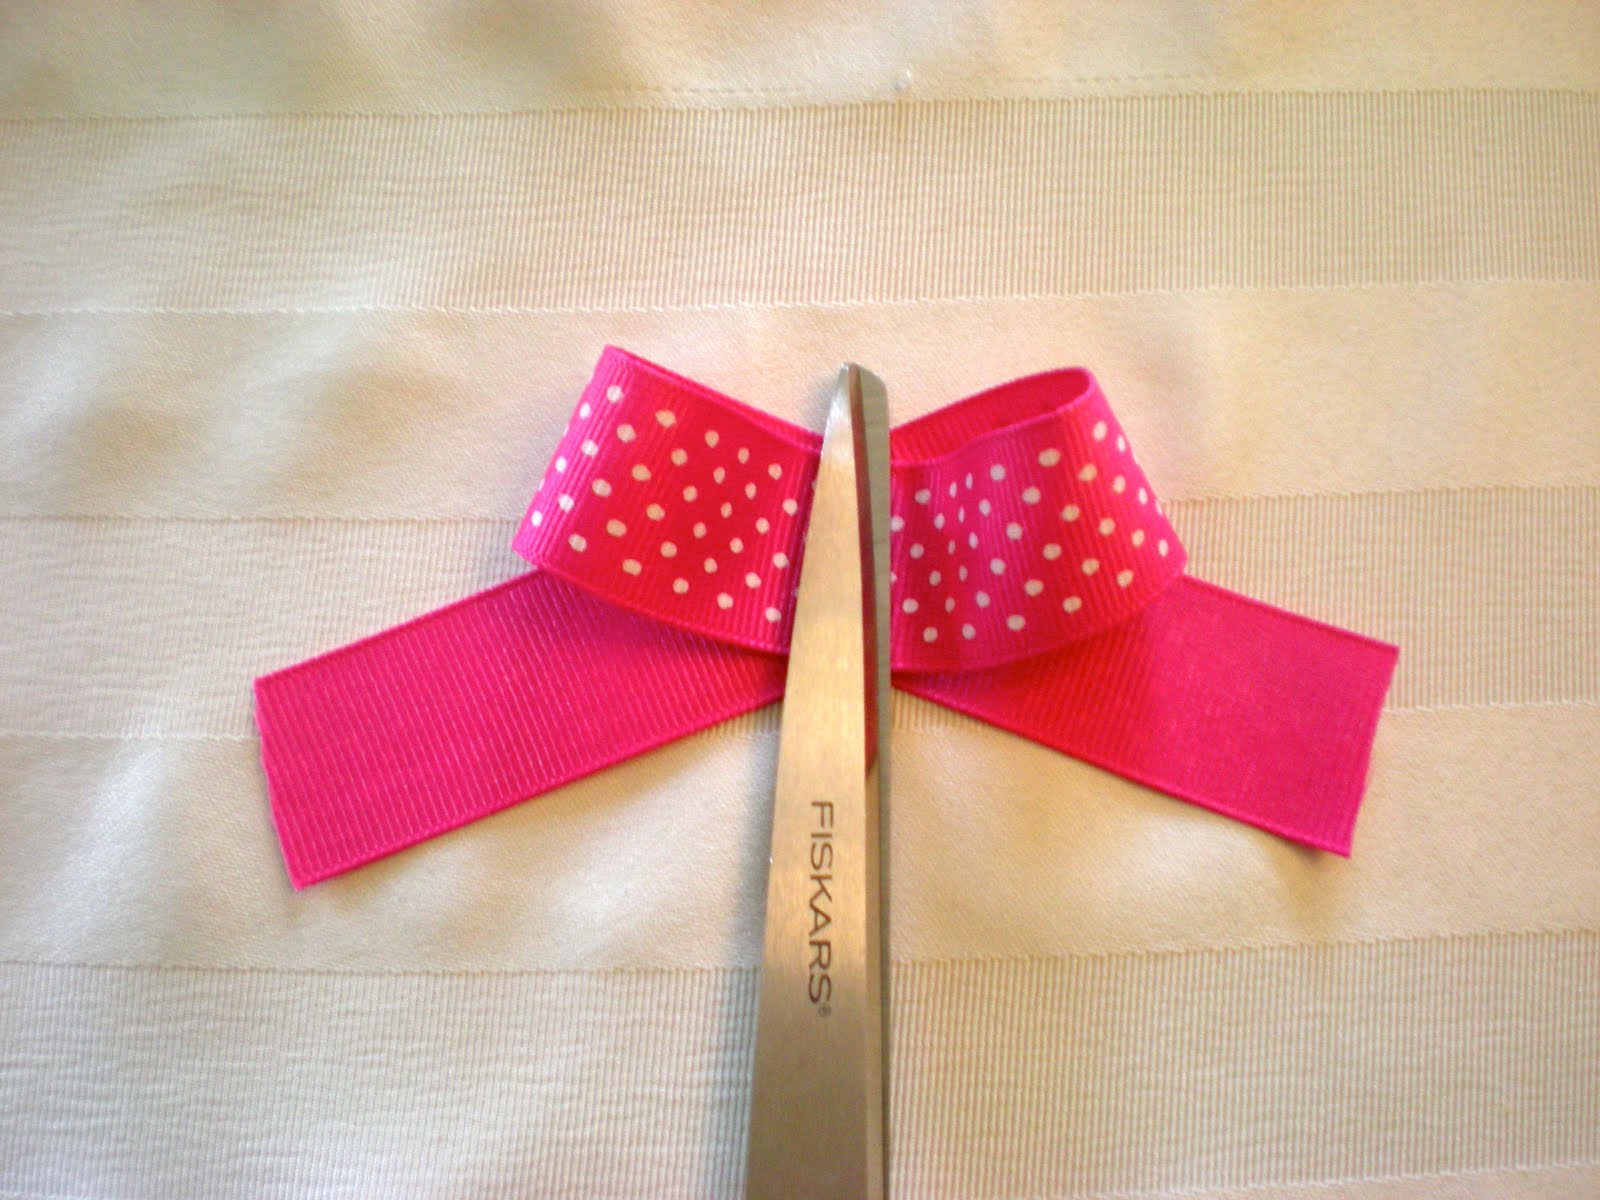
4. Place your two tail ends down together and the wrong sides of the ribbon should be facing up. See photo below.

5. Cross one of the tails over the other where the creases you made are and you should form an "x". The top should look like a little "hood" or I like to call it the "breast cancer awareness sign." :)

6. Press the "hood" down and make the crease on the hood meet the "x" of the tails and hold it in place with your control clip.
7. Get some string, cut a long enough piece to wrap around, about 12" or so. The control clip is going to be like extra fingers for you. Place the string through both sides of the "middle"hole of the control clip. Then wrap it around and back through the middle of the control clip and pull it tightly, but not so tight that you break your string! Tie off the strings and knot well. Cut off the string, but leave a little bit on each end so it doesn't unravel.


8. Now stick your alligator clip through the back string of the bow.

9. Glue both ends of the alligator clip to the bow, the part that is directly under the bow only. The open end of the clip is going to be a little trickier because it is thinner. Just dab a little bit of glue onto it. Make sure that you are placing the bow evenly onto both sides so that your alligator clip will not be crooked on the back.


10. To add the center of the bow, you can use the same ribbon and cut off about 5 to 6" of it and knot the center, or you can use a thinner ribbon, like the 3/8" ribbon of a coordinating or matching color if you prefer.

11. Dab a bit of glue onto the center of the bow where the string is. Place the "knot" or center of the ribbon onto the glue.

12. Open the alligator clip and place a dab of glue onto the inside of the clip on the side where the bow is. Place one of the ends of the ribbon through the clip opening and pull it a little to make it tight and place it onto the glue. Cut off the excess ribbon on that end.


13. Repeat the same steps for the other side of the ribbon.


14. Use your lighter to lightly burn/sear the ends off the exposed ribbon edge so that it will not fray. Warning- Just touch and go with your lighter, do not let it sit on one spot for too long or it will burn your ribbon and possibly catch on fire!
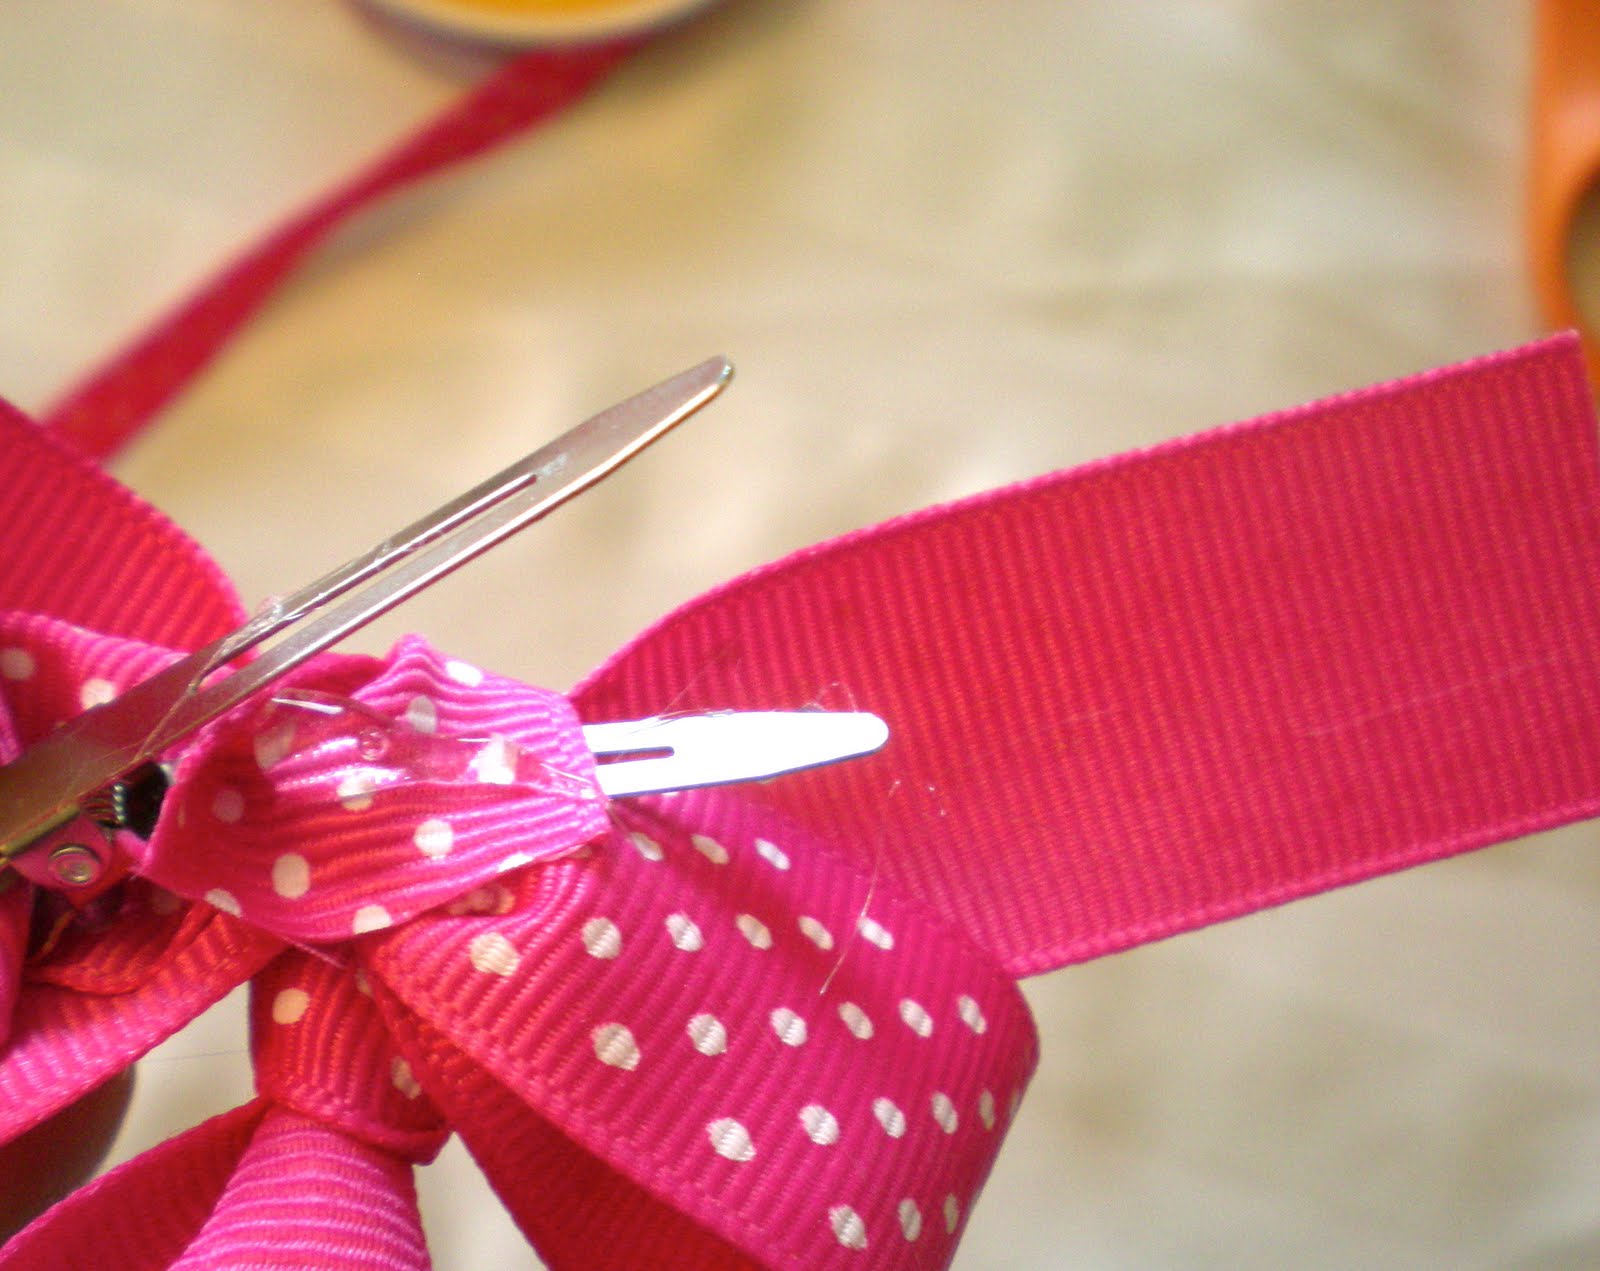
15. To finish your ribbon, get one of the "tails" and cut an angle or to make a fish tail, fold it in half and cut an angle into it that way, from the folded part out to the open ends (open ends should be longer)

16. You will have to lightly burn/sear the ends of this too as you did with the center ribbon. A trick is if you keep it in the folded position and just let the tail slightly separate from each other and sear it that way, your angles will look more sharp. I have found that if you open them up all the way, then try to sear them, the ribbon will start to round off a little from the heat.

17. Repeat for the other side and you are done! Voila! A basic bow! Practice a few times and you'll be a pro before you know it!

No comments:
Post a Comment
Comments are always welcome, thank you!